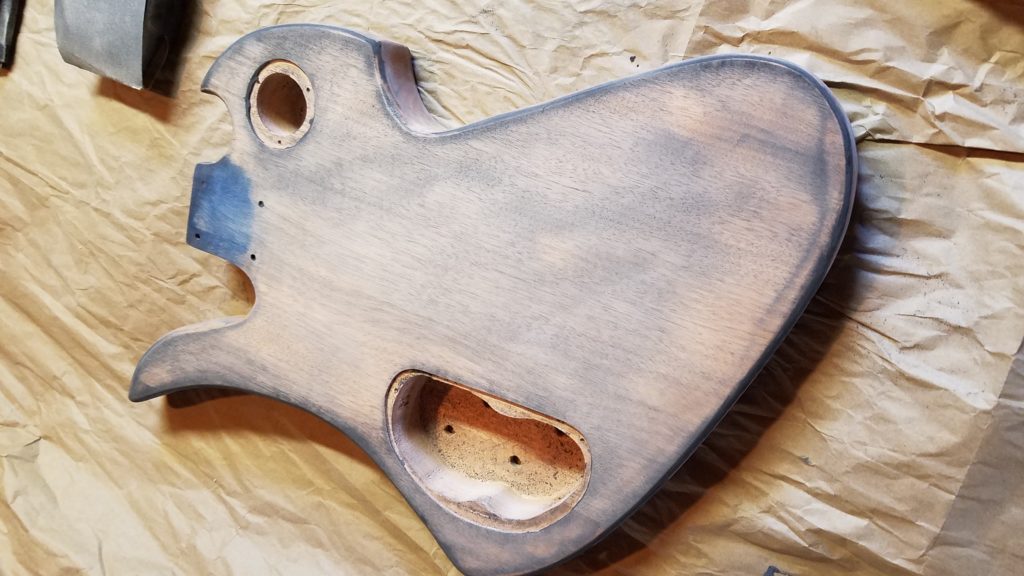
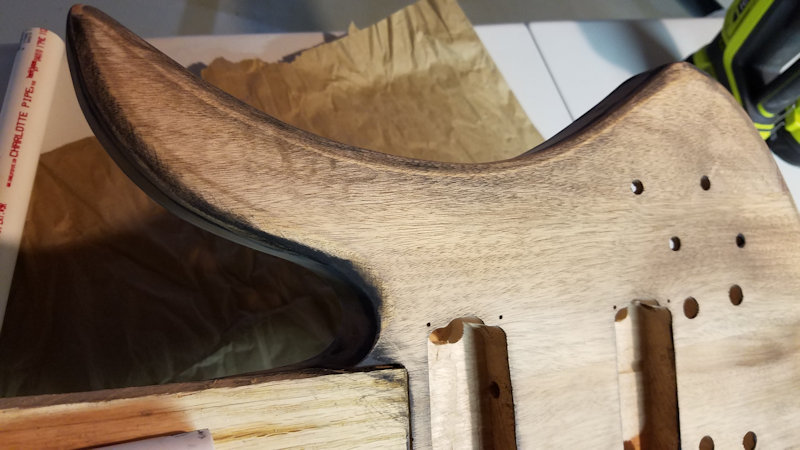
I started wiping off the dried filler and stumbled into an unexpected “happy accident.” With the way I was removing the dried filler, I found I could control how much I took off and where. The uneven pattern was adding a bit of character and depth that I hadn’t anticipated:
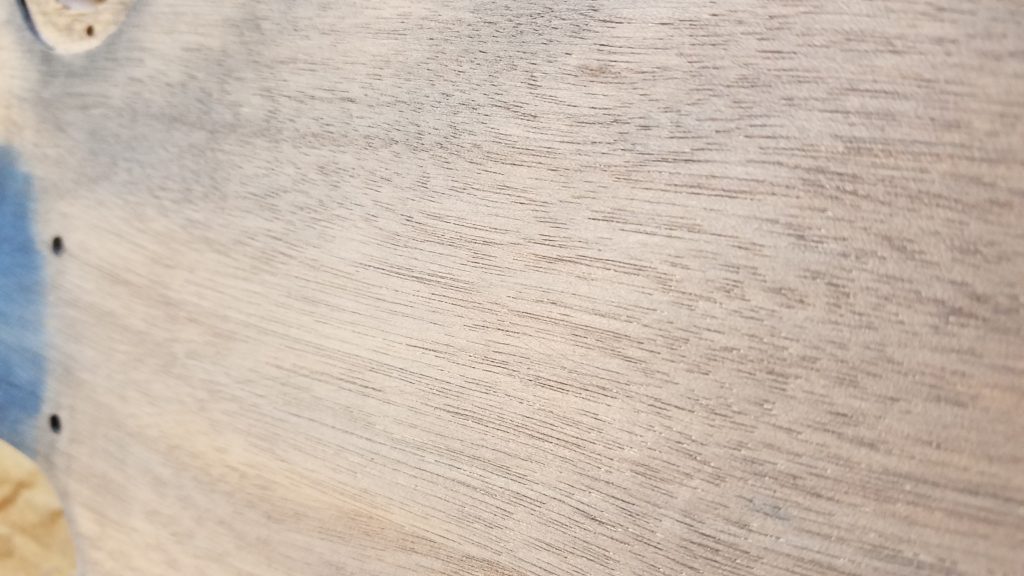
But I was able to see a better effect of the filler in the grain:
Later in the day, I assembled the finishing rig. The parts consist of:
- 1″ straight PVC pipe
- 3/4″ straight PVC pipe
- 1″ 3-way elbow
- 1″ tee
- 1/2″ machine screw
In this case, I bought two 24″ pieces of the 1″ pipe and one 24″ piece of the 3/4 because it’s just easier to transport to the house rather than buying the super-long bulk stock. I cut 9″ off of one of the 24″ pieces to be the vertical, leaving the other to take the bulk of the body’s weight once I got the whole rig together (thank you, high school math and science).
I used a 1/2″ machine screw as a set screw in the T-piece to hold the 3/4″ pipe in place once I bolted it to a scrap piece of wood to attach the body.
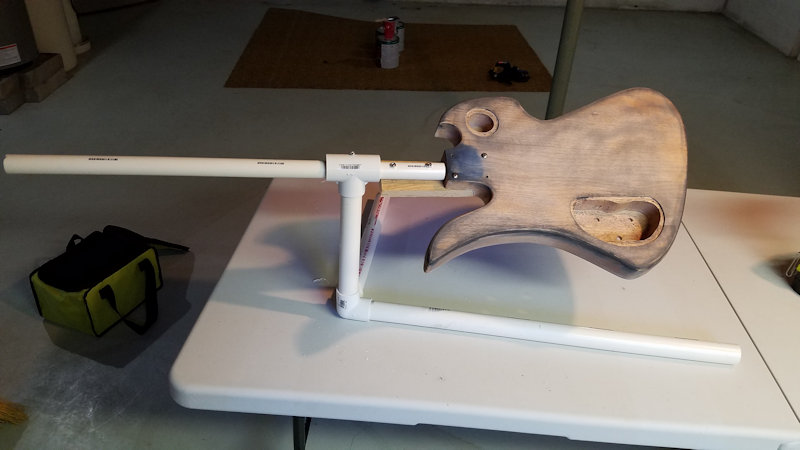
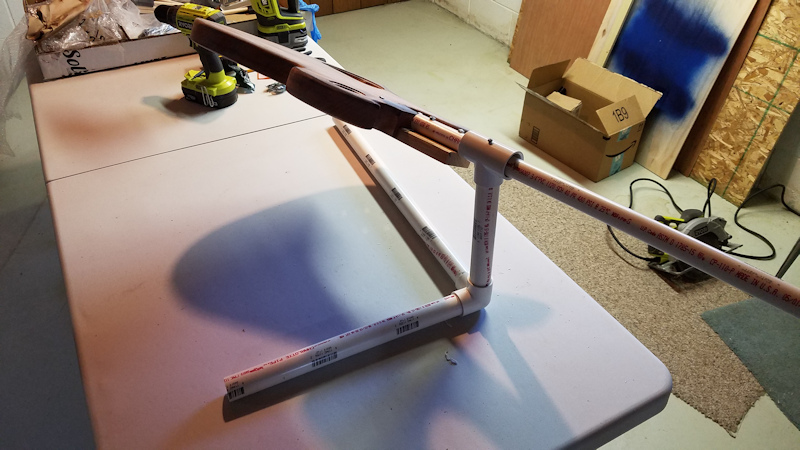
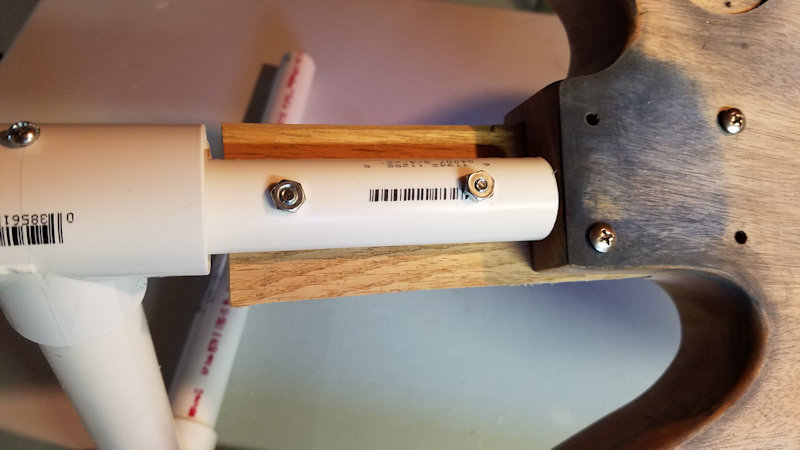
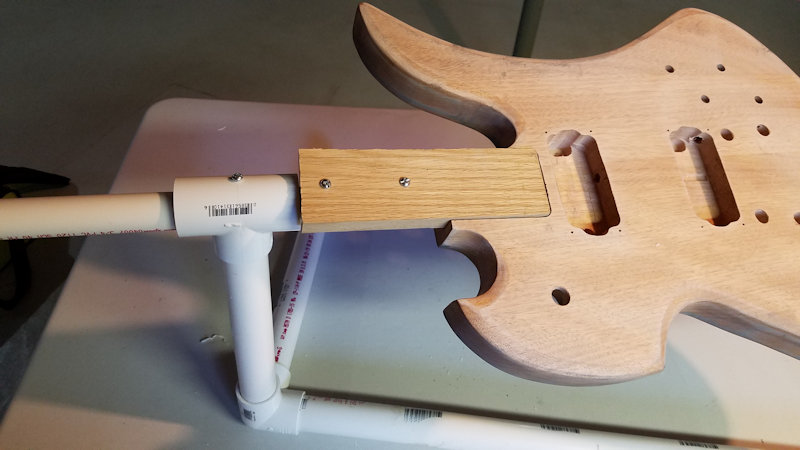
When I began coating the sides and front with grain filler, I discovered a problem. To account for centrifugal force, I bolted the body to center with the 3/4″ horizontal pipe. Unfortunately, to minimize the center-of-gravity problem with the weight of the guitar and the lack of a counterweight, the 3/4″ pipe is bolted right up against the heel of the neck joint of the body, which meant I couldn’t get the filler into that spot.
But since it was just screwed into place, I could readjust and reposition the wood piece to the other side so I could get to the heel.
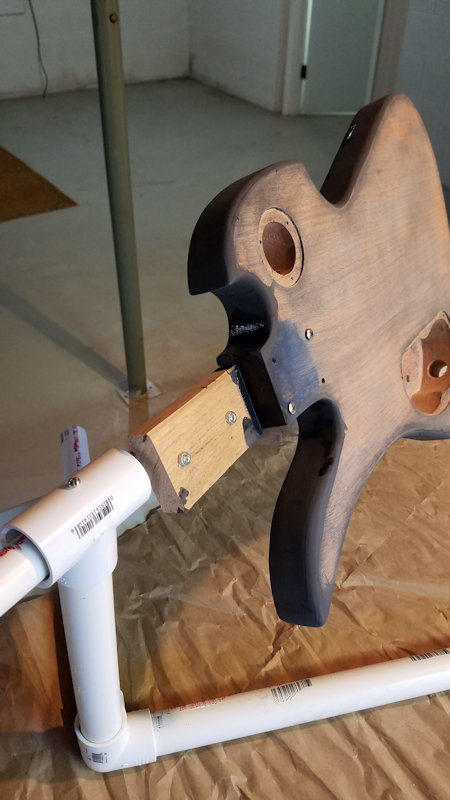
The weight distribution makes it more awkward to rotate now, but I could at least get to the heel.
After letting the grain filler dry for a few hours on the front and sides, I wiped it off using some deliberate carelessness to feather the edges.
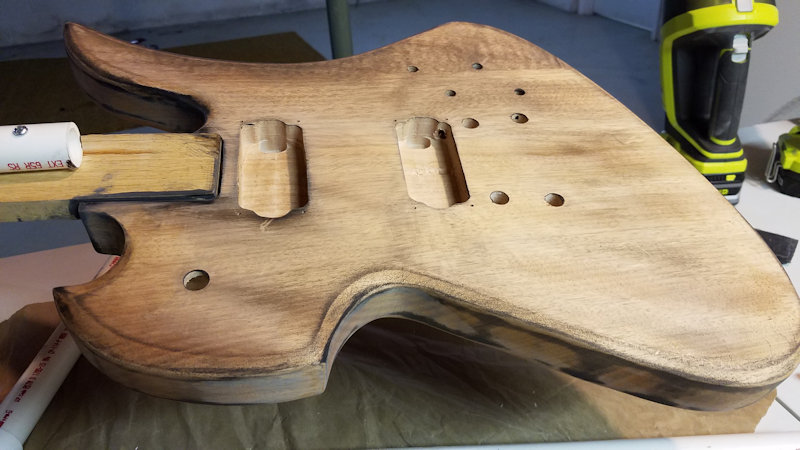
And thus ends Sunday’s work. Letting the moisture dry off for the night before I begin staining tomorrow.
